Continuum Robots:
Innovation Inspired by Nature
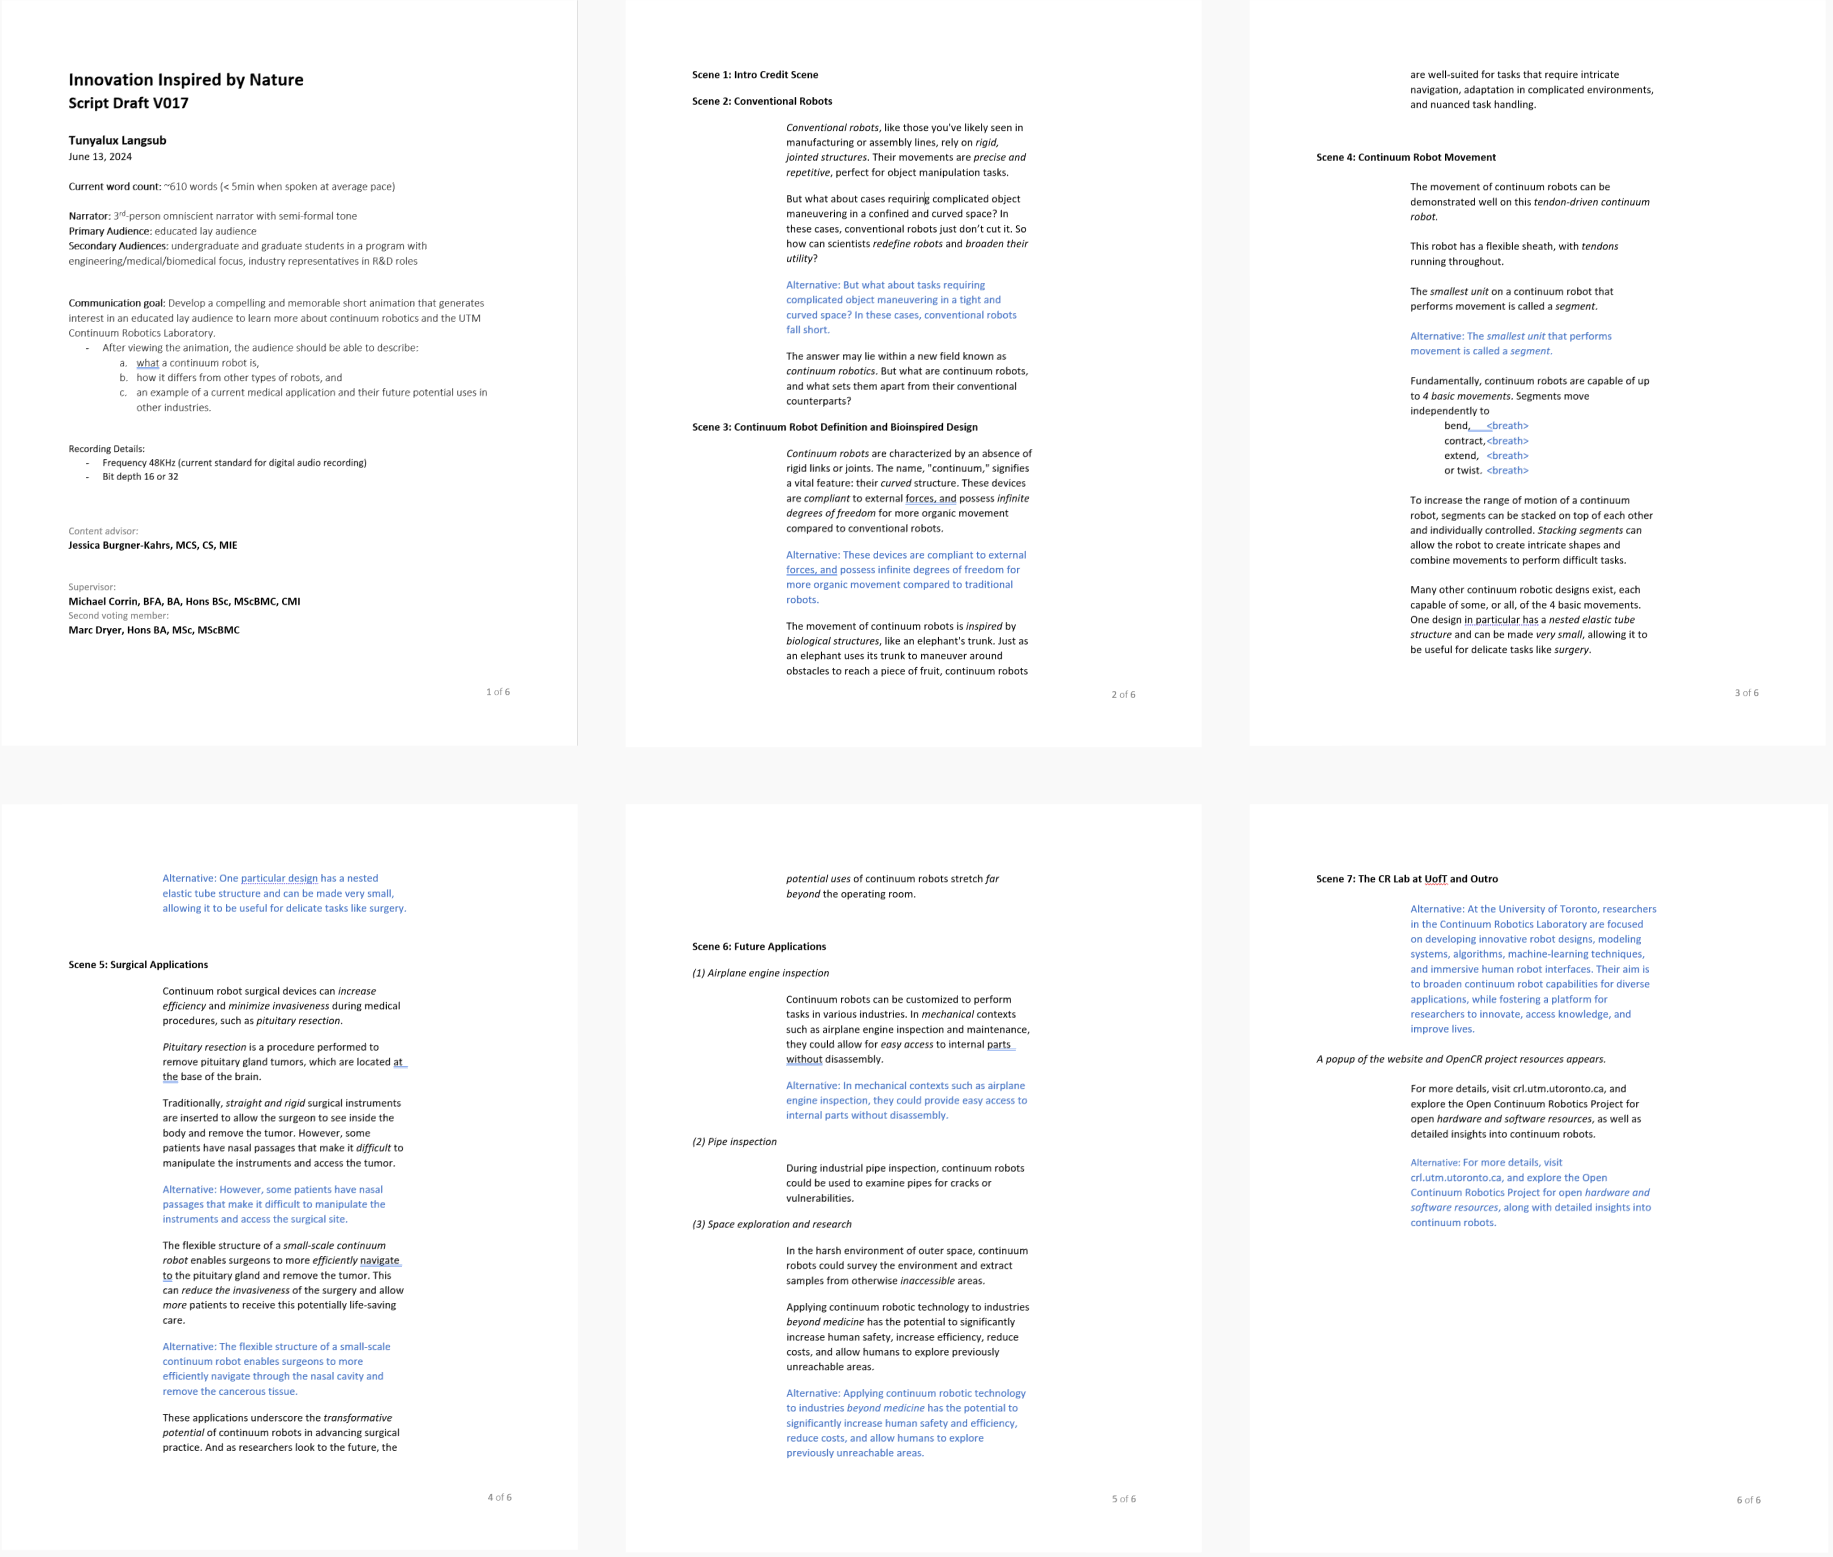
This 3D animation delves into the fascinating world of continuum robots—an innovative class of robots at the forefront of cutting-edge research.
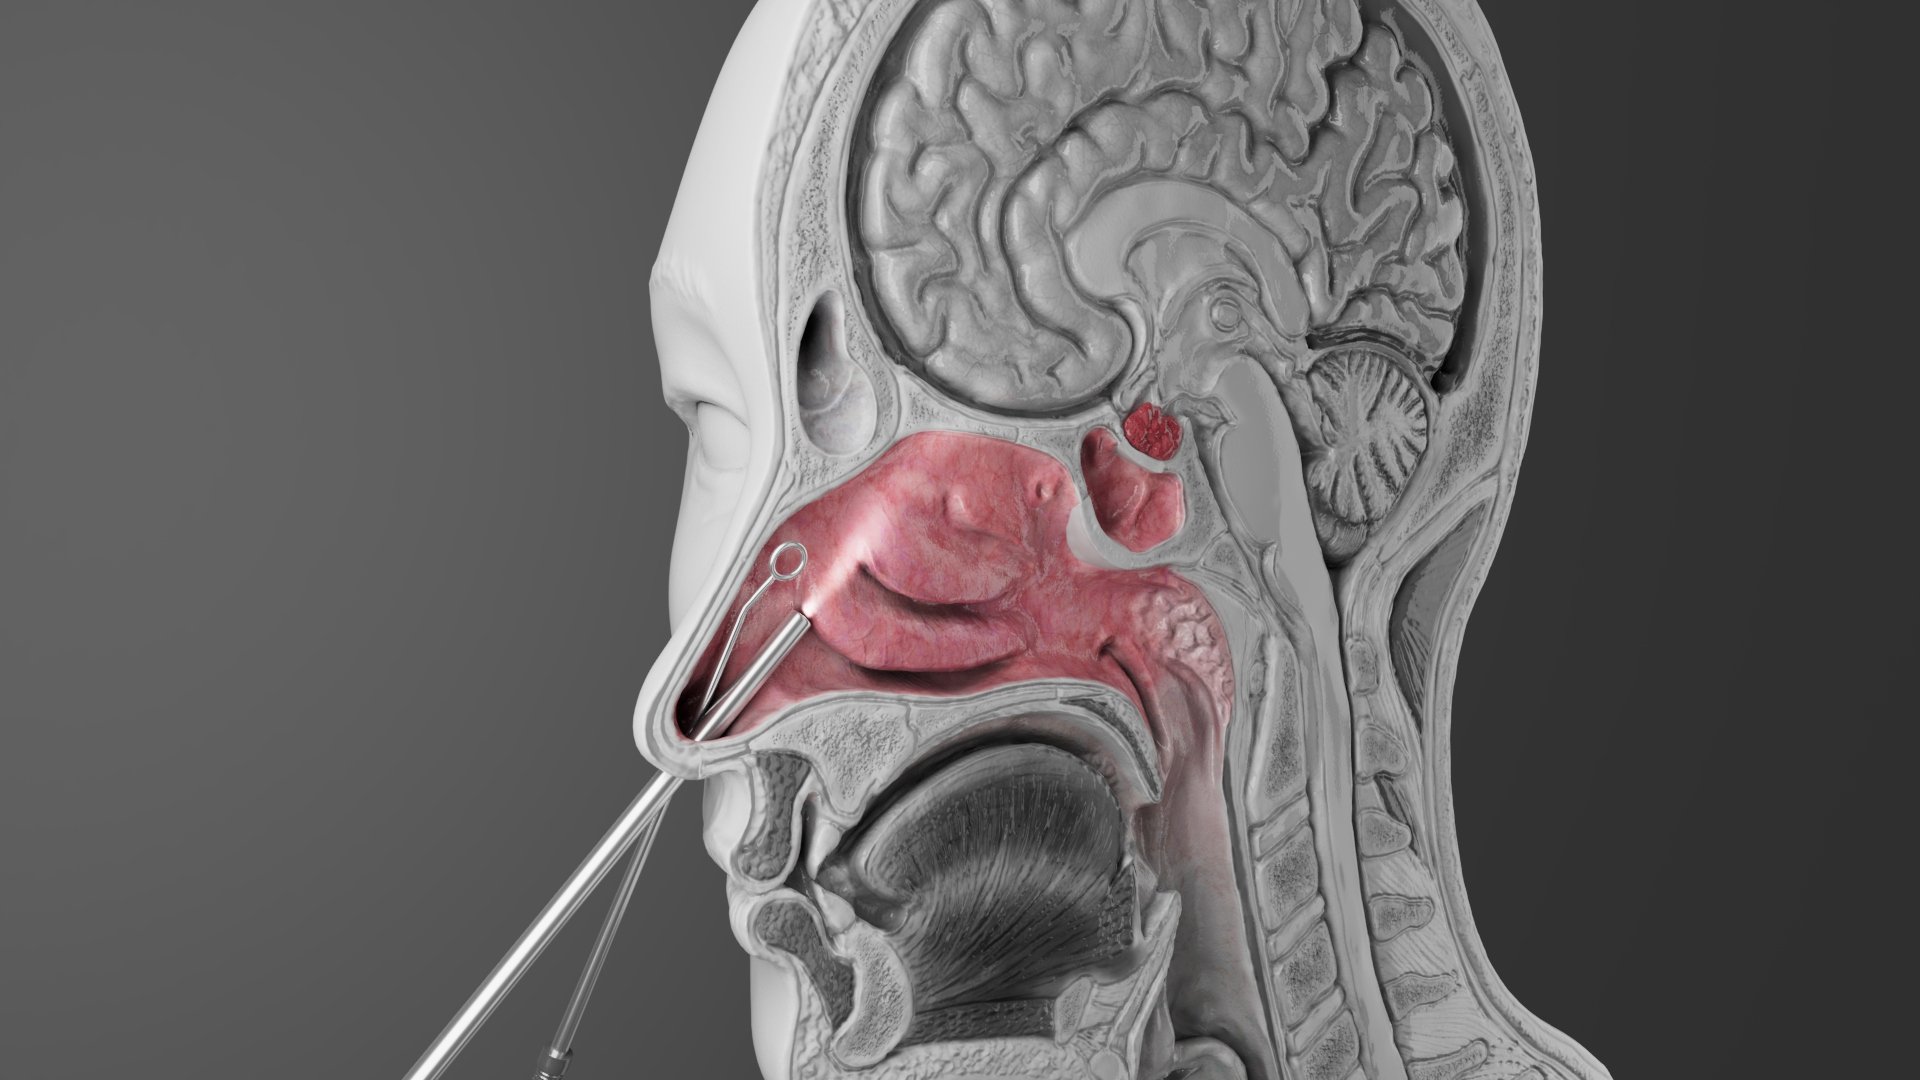
With an incredible diversity in design, these robots exhibit unique capabilities, making them indispensable across various fields. From performing delicate microsurgery to navigating treacherous environments in search and rescue operations, inspecting and repairing complex machinery, and exploring the far reaches of space, continuum robots are shaping the future of robotics.
For this project, models were created using Nomad Sculpt and Autodesk Maya, with textures developed in Adobe Substance Painter. Animation was completed in Maya, focusing on accurately portraying the fluid movements and adaptability of these robots. Adobe After Effects and Premiere Pro brought everything together in post-production, blending visuals and effects to create an immersive experience.
Roles: Research, Script Writing, Storyboarding, 3D Modelling, 3D Animating, Rendering, Compositing
Audience: Educated lay audience (ex. undergraduate and graduate students in a engineering/medical program, industry representatives in R&D roles)
Clients: Dr. Jessica Burgner-Kahrs (Director of Continuum Robotics Research Laboratory), Professor Michael Corrin (Director of Biomedical Communications Program at University of Toronto), Professor Marc Dryer, Associate Professor of Biomedical Communications Program)
Communication Objective: Develop a compelling and memorable short animation that generates an interest to learn more about continuum robotics and the UTM Continuum Robotics Laboratory.
Medium: Web, 3D Animation
Presentation: Conference presentations, website, on TVs in lab space during tours
Software: Autodesk Maya, Nomad Sculpt, ZBrush, Adobe After Effects, Adobe Audition, Adobe Premiere Pro, Adobe Photoshop, Adobe Illustrator, Figma, Procreate
First Contact
The whole process began when I was introduced to Dr. Jessica Burgner-Kahrs through a presentation she made during a speaker series held by the BMC program at The University of Toronto Mississauga.
Shortly afterward, I reached out in the hopes of collaborating to create my capstone project. We immediately clicked and the exciting journey began to create a didactic 3D animation on her work at the Continuum Robotics Laboratory.
The production of the 3D animation followed a year-long timeline, structured into distinct phases with regular checkpoint meetings to ensure alignment and progress. The project begins with pre-production, including research, concept development, and storyboarding. The production phase involves asset creation, animating those assets, and the post-production tasks of compositing and editing.
Throughout the year, a total of 4 formal checkpoint committee meetings were scheduled at key milestones: project concept approval, storyboard finalization, animatic review, and final delivery. These checkpoints, along with constant interaction with my committee and weekly meetings with my supervisor Professor Michael Corrin, provided opportunities for feedback throughout the process.
Timeline
-Creation Process-
Research
Though daunting, It was fascinating to delve into the literature and existing media to address the gaps in scientific communication that exist around continuum robots, as well as the best principles and strategies I could employ in my animation.
Research Proposal
Media Audit
Concept Art and Moodboards
One of my favourite parts of creating an animation is finding the visual inspiration and style of the work. I always try to think about how colour and lighting can influence tone, and work backwards to see which styles can best establish the tone needed for the work. In this case, I wanted a style that was professional, clean, and elegant without being too cold or sterile (as seen in many medical device and robotics media).
Script Writing
I wrote a script using the research and insights gleamed from the research proposal and media audit, as well as countless rounds of feedback from Dr. Jessica Burgner-Kahrs and Professor Michael Corrin. We felt that a professional but approachable tone would best reach the target audience, and we ended up on a script that balanced the educational points with a clear overall message and story. Our narrator, Heather Bambrick, did a beautiful job conveying the desired tone.
Script
Storyboarding
This is where it all came to life (and where I spent most of my time). Piecing together the main beats of the story was like fitting puzzle pieces together to create the big picture. I used Figma to organize and rearrange storyboard images until scenes formed, and it became easier to identify which shots belonged in each part of the animation. I had so much fun playing with different camera angles, compositions, camera movements, visual storytelling tools, and transitions to turn our ideas into reality.
In total, 3 versions of the storyboard were made, with numerous iterations required to reach the final version.
Storyboard 1
Storyboard 2
Storyboard 3
Animatics
By temporally arranging the storyboard images, I could more easily communicate to the client and my committee how transitions, cuts, and visual/audio indicators contributed to the flow of the animation. Many adjustments were made at the animatic stage, too, as shown by how different these 2 animatics are to each other.
My first animatic
An end-stage animatic
Project Stills
Working through a Problem
As this was my first major animation i’ve ever made, numerous mistakes were made and issues encountered. One significant hurdle I had to overcome was how to depict the unique movement of a tendon-driven continuum robot accurately, without physics-based simulations.
I began playing around with potential rigs on a separate scene with basic meshes to really understand how the rigs behaved and test their limitations.
I needed to show the motion primitives of the robot, which include bending, extending, compressing, and twisting.
After consulting Professor Marc Dryer, the resident Maya animation expert at BMC, I learned that there were several options available to do the movements but I would likely need to do some clever combining of different rigs to achieve all 4 motion primitives.
I knew I was not able to use a wire deformer because the pattern on the mesh (meant to show the viewer the deformations of the robot more clearly) would make it hard to give the illusion of extending and contracting. While a wire deformer works for bending, oddly the rig breaks down when the spline it bends on is at too sharp of an angle.
I ended up making a skeleton with lots of bones and joints within the robot mesh, and then applying an IK spline so that I could use the built-in transformation capabilities that are already in the rig.
However, I could not achieve accurate contraction through these IK spline transformations. I had to create a custom blendshape with the bumps associated with a bunched up robot sleeve to achieve an accurate portrayal.
Here is how the rig turned out!


